


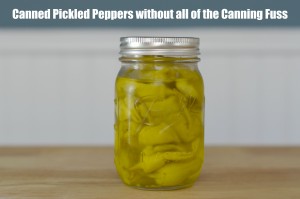
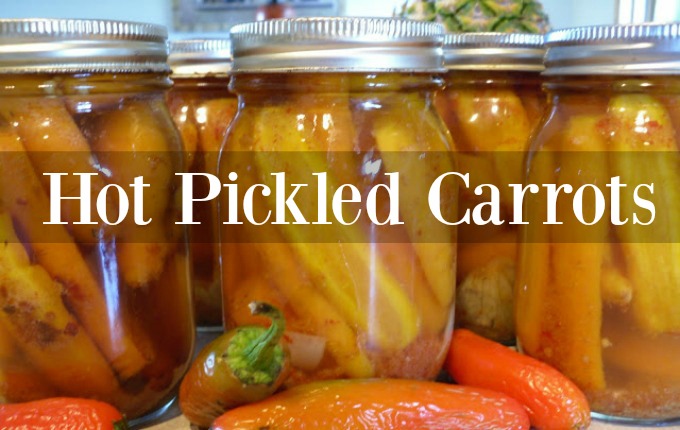
Learn how to easily make DIY Canned Pickled Peppers at home without all of the crazy canning fuss with this easy-to-follow recipe and tutorial.
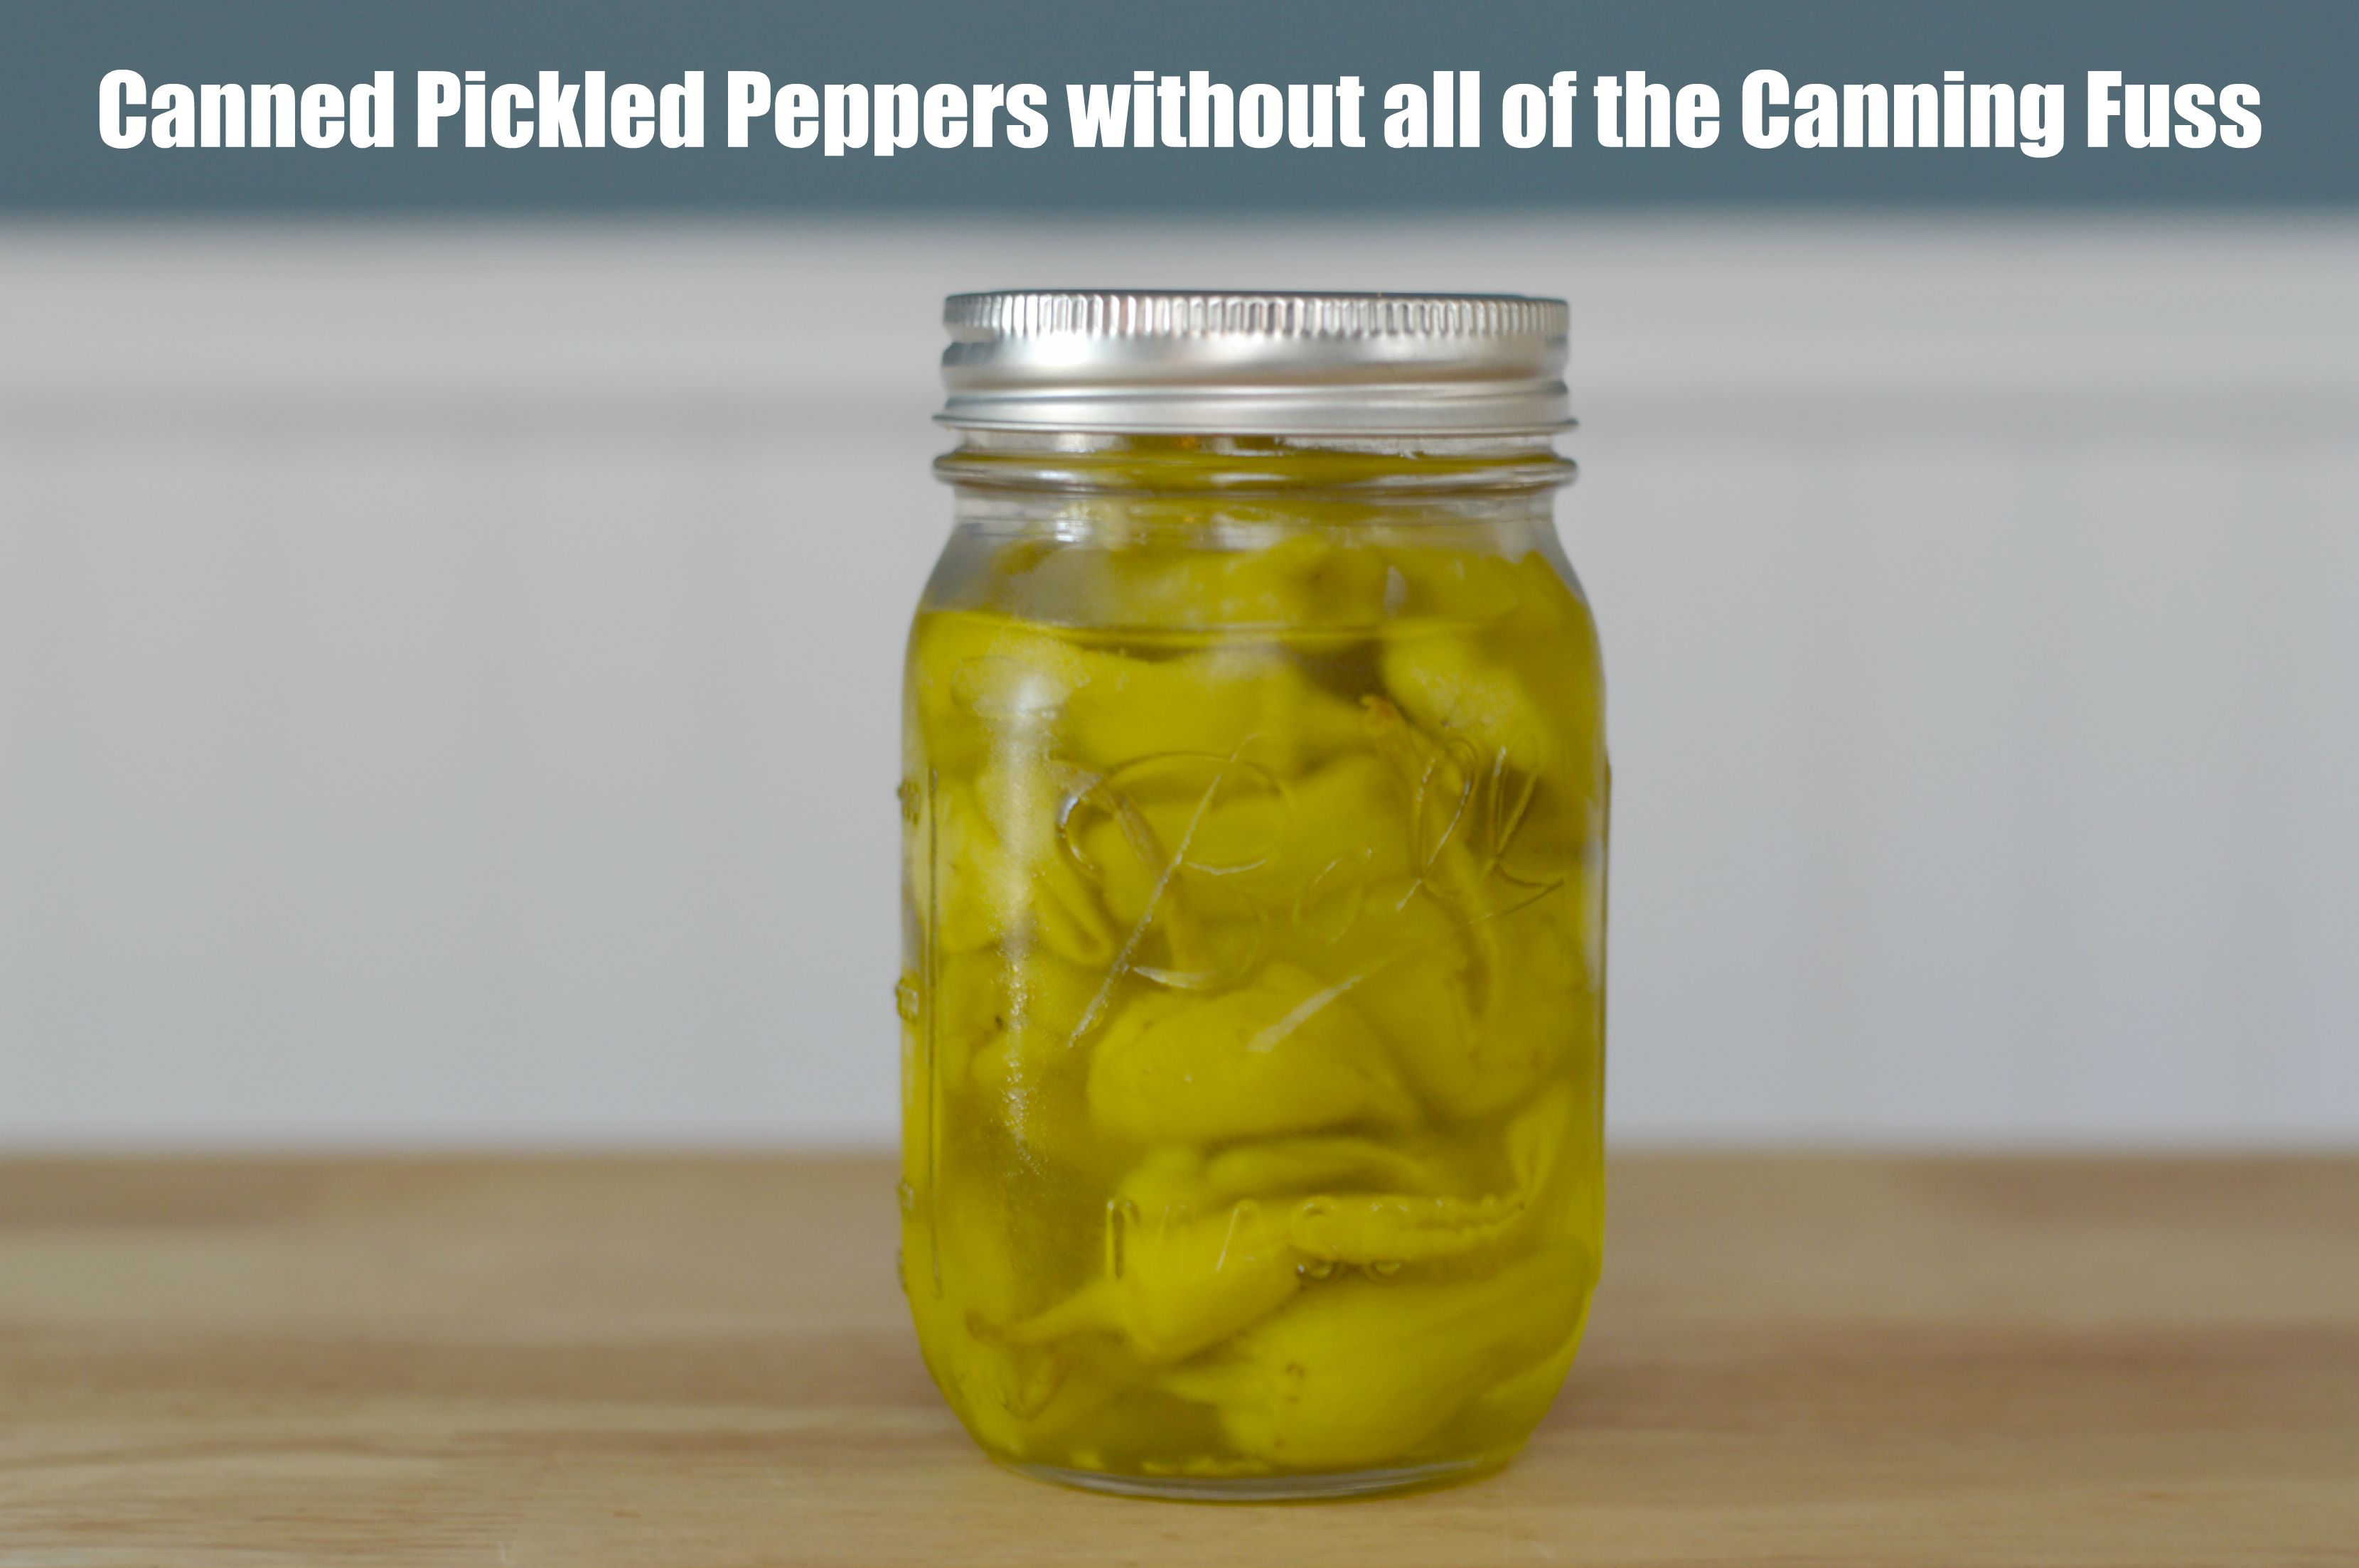
This simple recipe tutorial for DIY Canned Pickled Peppers is a ‘no processing’ peppers recipe that is easy for a first time pickler. With the end of the gardening season upon us, it is time to start pickling and preserving your bounty. We like this simple process because it doesn’t require any hot water bath processing, it gives us fresher tasting pickled peppers, and you can use this same recipe for any pepper variety that you may have growing in your garden. All of the canning pleasure, without all of that canning fuss.
- 3 Cups Vinegar
- 1 Cup Water
- ¼ Cup Salt
- Fresh peppers of choice (We used Pepperoncini, but you can use whatever fresh pepper you have, and you'll need enough to fill 4 pint-sized jars ¾ of the way full.)
- Clean and sterilize your jars by running them through the dishwasher and letting them run through the dry cycle completely.
- Place lids in boiling water. Once they are heated, let them sit in the water to stay warm prior to adding to the jar, this helps them seal quicker.
- Bring water, vinegar, and salt to a boil, stirring to dissolve salt completely.
- Poke small holes in the peppers so the juice gets in there.
- Pack your peppers and any other spices into your Mason Jars.
- Ladle the brine into the jars over the peppers, leaving a little headspace.
- Use a butter knife and push down the sides to release any air bubbles.
- Take lid out of warm water, place on jar along with screw cap, and screw on.
- You will hear the jars popping meaning they are sealed, refrigerate or place in a dark cool place up to three months.
If you love this simple recipe for Canned Pickled Peppers, you can find more like it by visiting our Canning Section. Be sure to subscribe to our newsletter so that you never miss a single recipe. For daily recipe inspiration, like us on Facebook and find us on Pinterest. Enjoy!


Comments