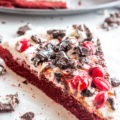
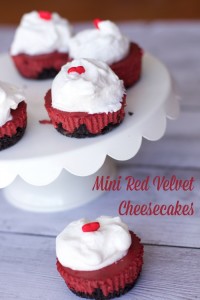
Indulge your sweet tooth without worrying about portion control when you make these decadent and visually appealing Mini Red Velvet Cheesecakes for your Valentine’s Day dessert this year!

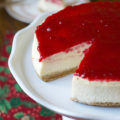
Since I started dating my husband 19 years ago, we never exchanged gifts for Valentine’s Day. Instead we enjoy making a nice meal at home together. Once our children got older, we started enjoying a fondue dinner as a family on Valentine’s Day. Since I love themed foods, I have the tendency to make yummy Valentine’s Day desserts for the entire month of February. My daughter loves anything Red Velvet; one of her favorite birthday desserts was a Red Velvet Cheesecake I made her one year. Talk about indulgence. Portion control is one of the hardest things about watching our waistlines after the holidays so we’re making these adorable Mini Red Velvet Cheesecakes to satisfy our sweet tooth this Valentine’s Day.
Cupcake tins are the perfect size to transform many recipes into mini desserts. From Key Lime Pies to any flavor cheesecake, consider transforming any recipe into a mini dessert, perfect for any party. For these cheesecakes you will want to use cupcake liners for easy removal.
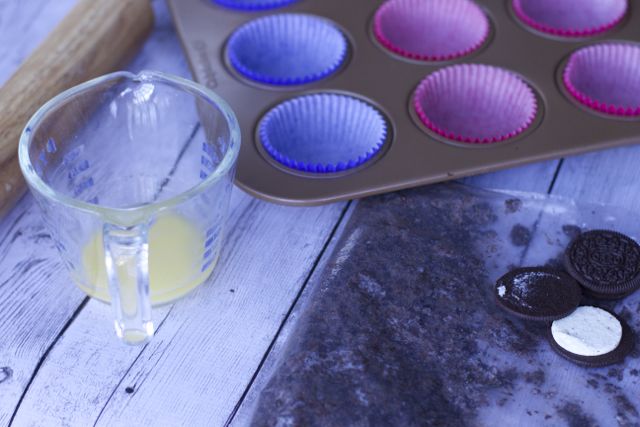
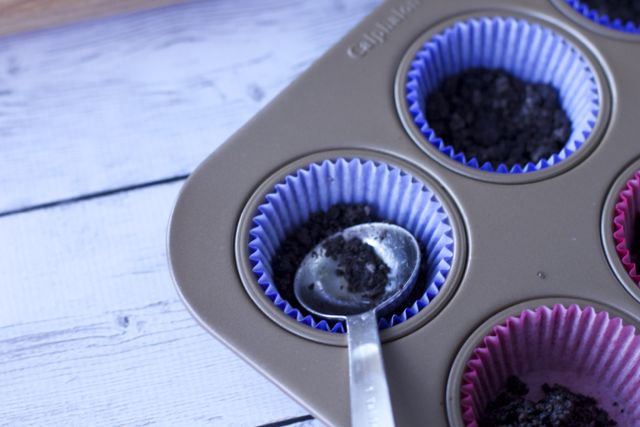
Place a tablespoon of your cookie and butter mixture into each cupcake liner and press lightly with the back of your spoon. Bake for 5 minutes.
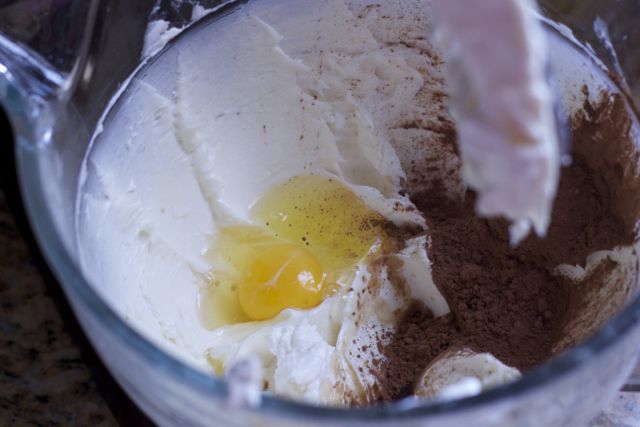
Then make your cheesecake batter in the mixer the same way you would make a traditional cheesecake. For our Red Velvet Cheesecake, that means an addition of cocoa and red food coloring.
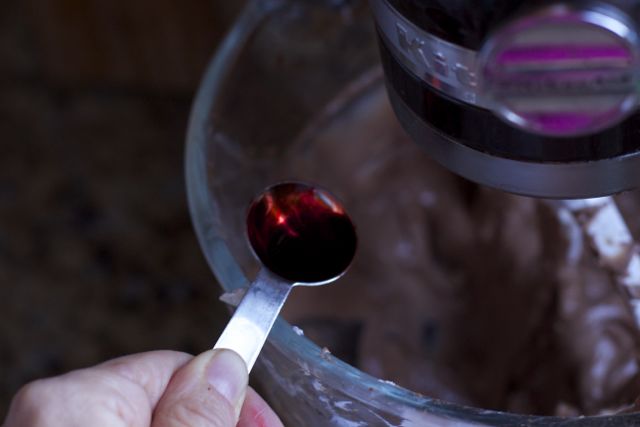
It is that red food coloring that gives this dessert the Red Velvet name. I can not resist the color for a romantic dessert for Valentine’s Day.
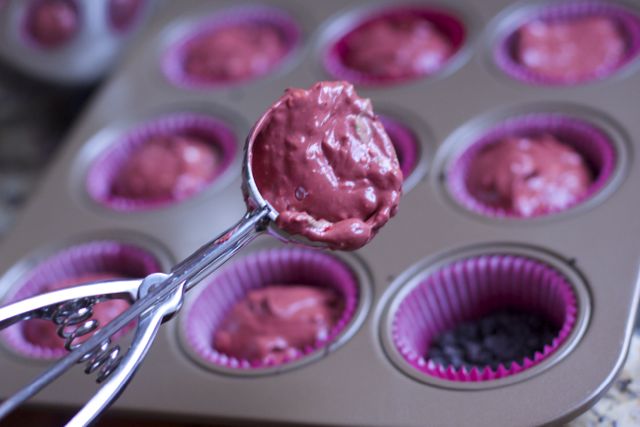
Using an ice cream scoop, fill your cupcake liners about ¾ full. (The ice cream scoop method is less messy and allows you to make even sized desserts.)
Bake and allow to cool before placing these perfect sized desserts into the fridge for at least an hour. Cheesecake tastes better the longer it sits, making this the perfect make-ahead dessert idea.
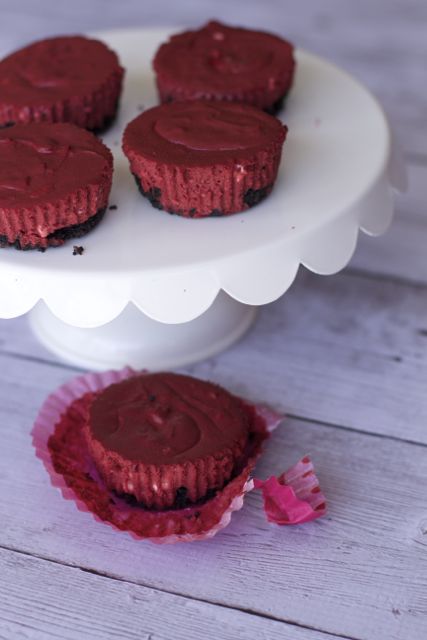
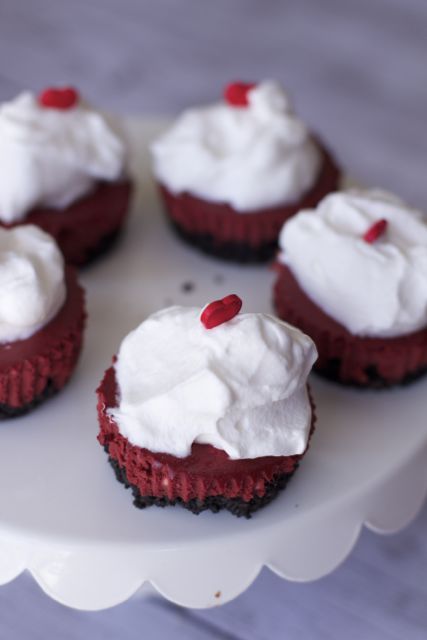
Before serving, make the frosting. A dollop of whipped cream is the perfect addition to this already flavorful dessert. Remove the cheesecakes from the cupcake liners before topping with the whipped cream.
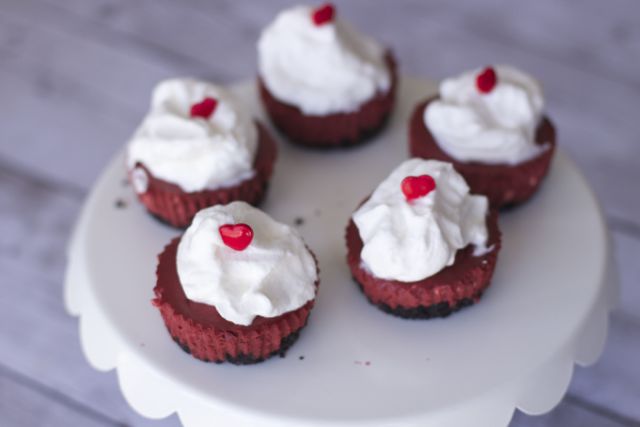
We added a fun little heart-shaped sprinkle on the top! Serve these mini Red Velvet Cheesecakes this year and you are guaranteed smiles and happy bellies.
Who wants a bite?

- For the crust:
- 13 Oreo cookies, crushed
- 2 tablespoons butter, melted
- For the filling:
- 12 oz reduced-fat cream cheese (room temperature)
- ½ cup sugar
- 1 tablespoons low fat sour cream
- 3 tablespoons cocoa powder (not sweetened)
- 1 egg (room temperature)
- 2 teaspoons vanilla extract
- 4 teaspoons red food coloring
- For the frosting:
- ½ cup whipping cream
- 2 tablespoon powdered sugar
- ½ teaspoons vanilla extract
- For the crust:
- Preheat oven to 350ºF.
- Line 12 muffin tins with paper liners.
- Crush Oreo cookies in a food processor or in a Ziploc bag.
- Combine Oreo crumbs and melted butter in a large bowl.
- Place a heaping tablespoon of Oreo mixture into the bottom of a cupcake liner.
- Press down with back of tablespoon to pack tightly.
- Bake for 5 minutes, then remove and let cool slightly.
- For the filling:
- Reduce oven to 325ºF.
- Combine cream cheese and sugar in an electric mixer on medium speed.
- Add sour cream, cocoa, egg, vanilla to combine.
- Add the red food coloring.
- Pour batter on top of Oreo crust and fill about ⅔ to the top.
- Bake for 15 minutes or until cheesecakes appear firm.
- Cool in the muffin tins for 30 minutes before transferring them to Refrigerate for at least 1 hour (the longer the better).
- For the frosting:
- Using an electric mixer, beat whipping cream on medium speed 30 seconds until stiff peaks form.
- Beat in powdered sugar and vanilla sugar.
- Remove the cheesecakes from the cupcake liners. Top each chilled cheesecake with a large dollop of whipped cream. Serve chilled.
We hope you love these Mini Red Velvet Cheesecakes from SoFabFood Contributor, Maria of Close to Home, as much as we do. If you love this delightful recipe, stop by our Desserts section to find more like it. Don’t forget to subscribe to our newsletter so that you never miss a single recipe, and you can visit our Pinterest boards for even more incredible dessert ideas. Enjoy!