


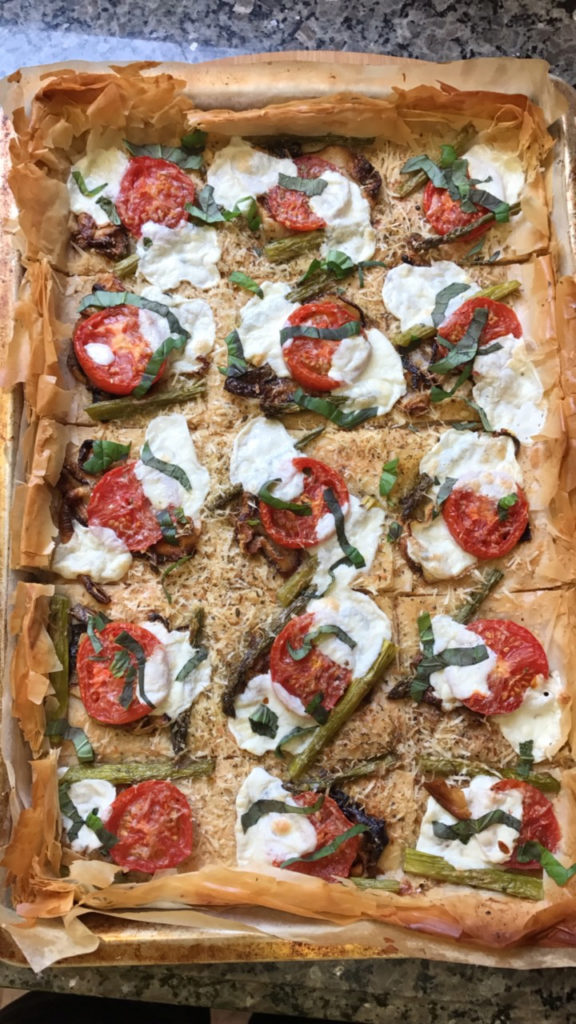
Step outside of the traditional pizza box with this flaky Roasted Vegetable Phyllo Dough Pizza. Razor-thin layers of crispy phyllo dough are topped with herb roasted vegetables, grated parmesan, and fresh mozzarella cheeses. This recipe is a serious game changer in the world of pizza.

Pizza is one of those dishes that honestly never gets old. To me it’s one of the most versatile foods that was ever invented. From the very basic 3-ingredient pie made with pizza dough, sauce, and cheese; to some of the most outrageous toppings (imagine a pizza stuffed with mini pizzas or how about one that contains a fully cooked roast, mashed potatoes, and gravy…IN THE PIZZA?), you really can’t go wrong with pizza.
However, these days pizza has gone beyond the standard crust. We have gluten free dough, cauliflower crust, spaghetti squash crust (my personal favorite non-dough crust), and even topping grilled portabella mushroom caps with pizza-style toppings and calling it a pizza. Today I’m taking the dough just one step further. We are going full on thin and crispy with phyllo dough pizza crust.
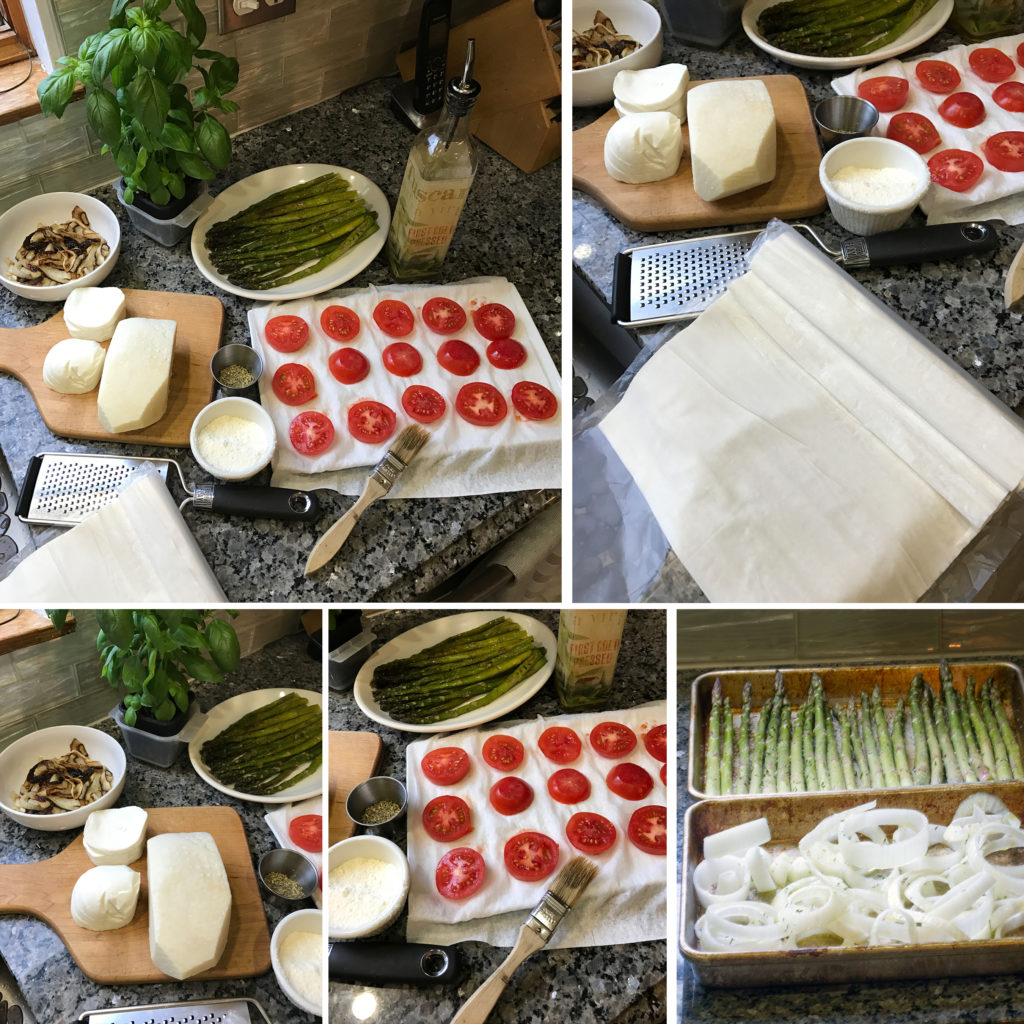
Phyllo dough is a very thin sheet of dough made with very little fat. Most of you know it in Greek dishes like baklava and spanakopita. It’s super light, airy, and oh-so-delicate to the touch. The main thing to know about working with phyllo dough is you have to keep it from drying out. When I’m working with it, as soon as I take a sheet off of the pile, I cover the rest with plastic wrap or a damp towel. Letting it dry out can cause it to turn brittle and tear. Don’t be discouraged if a sheet rips though, just lightly moisten the ripped area, patch it back together, and continue on. The dough will bake up just fine.
Roasted Vegetable Phyllo Dough Pizza Recipe
When making this Roasted Vegetable Phyllo Dough Pizza, it’s important to prepare all of your ingredients ahead of time. While it’s not hard to assemble this recipe, layering the phyllo dough does have a lot of repeatable steps.
- Brush a sheet of dough with oil, sprinkle with cheese and oregano.
- Top with another sheet of phyllo and repeat.
- Repeat again.
- Keep repeating a few more times until all of the sheets are used up.
The whole prepping to assembly process takes about 30 minutes, but that also includes roasting the onions and asparagus plus salting the tomatoes. “Salting the tomatoes” is one of my family’s old pizza shop tricks. We took pride in using fresh ingredients, however, if you’ve ever put fresh tomato slices on a pizza and baked it, you know you run the risk of the pizza getting soggy where the tomatoes are. By lightly salting them and letting them rest on a paper towel, the liquid is pulled out of them so when you bake the tomatoes on the pizza, you won’t have a soggy crust. It’s pretty much the same principle as squeezing the liquid out of zucchini when you cook with it in pizza crusts or baked goods. Drawing out that moisture is really important.
Once you’ve “layered, oiled, cheesed, and repeated” the layers, it’s time for the next step – stabbing it. One thing I should mention, normally when we work with phyllo dough, we use clarified butter, however since this is pizza, I wanted to keep it more true to form thus I went with the really good olive oil (extra virgin). You could use clarified butter or even grapeseed oil. You’re not really stabbing it, but rather piercing it with the tines of a fork. You want to make sure that you poke holes every inch or so of the entire pan pressing hard enough to go through all of the layers. What you’re doing is making small steam escape holes. This will prevent the phyllo dough from bubbling up and allowing the air to circulate between the layers.
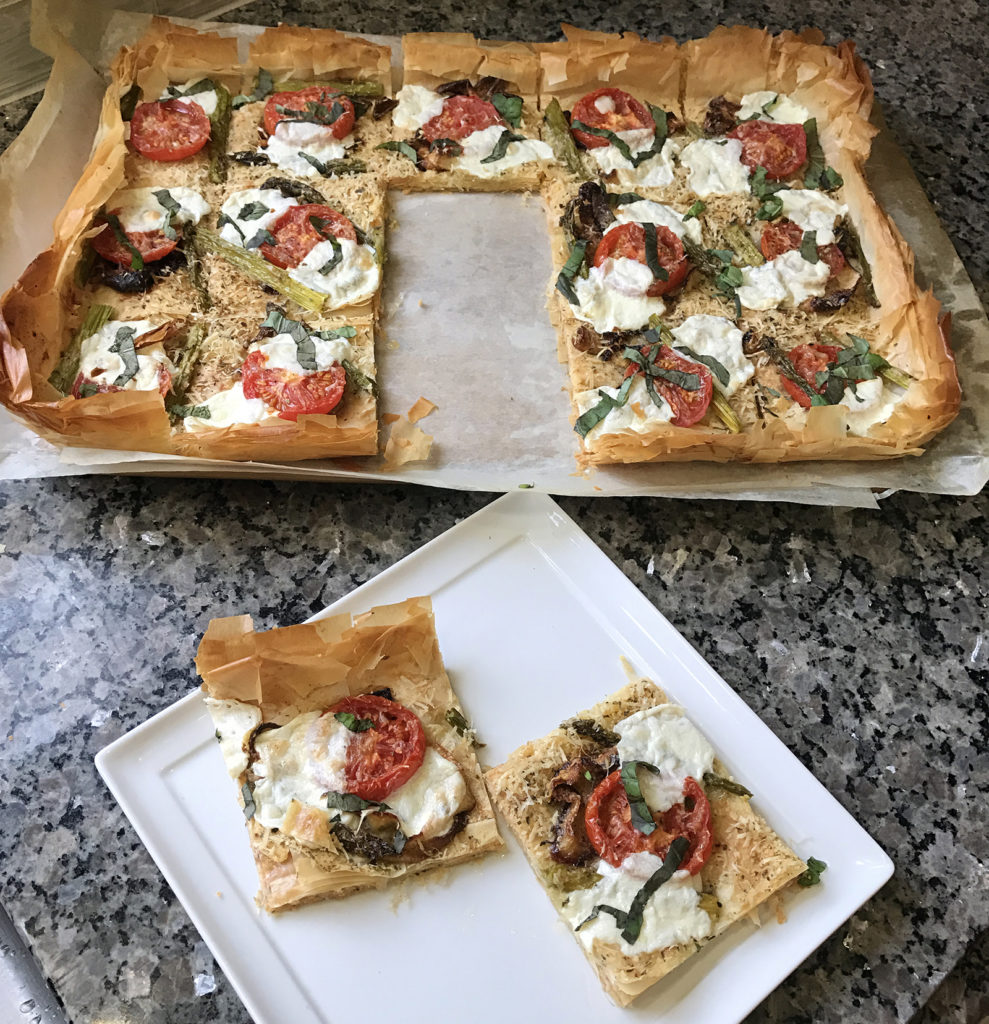
Next, which is SUPER important, before you add your toppings, you need to cut the dough into your serving sizes. If you try to cut this after it’s done, you risk the chance of getting crumples of dough (pieces/shards really) instead of even slices. If you do have to make a few slices after it’s done baking, you won’t alter the shape of each piece. You’re just ensuring you have a clean, crisp cut.
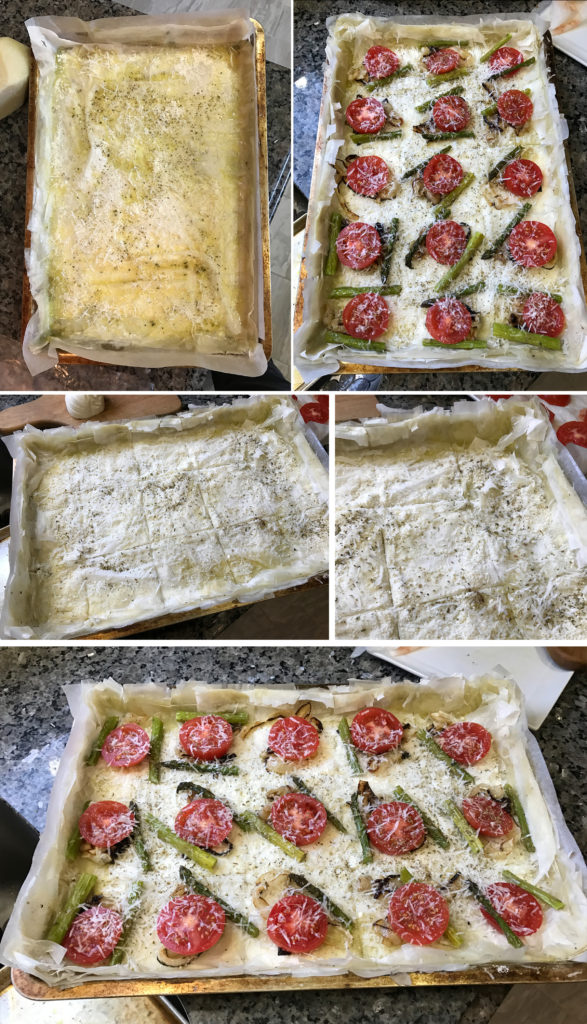
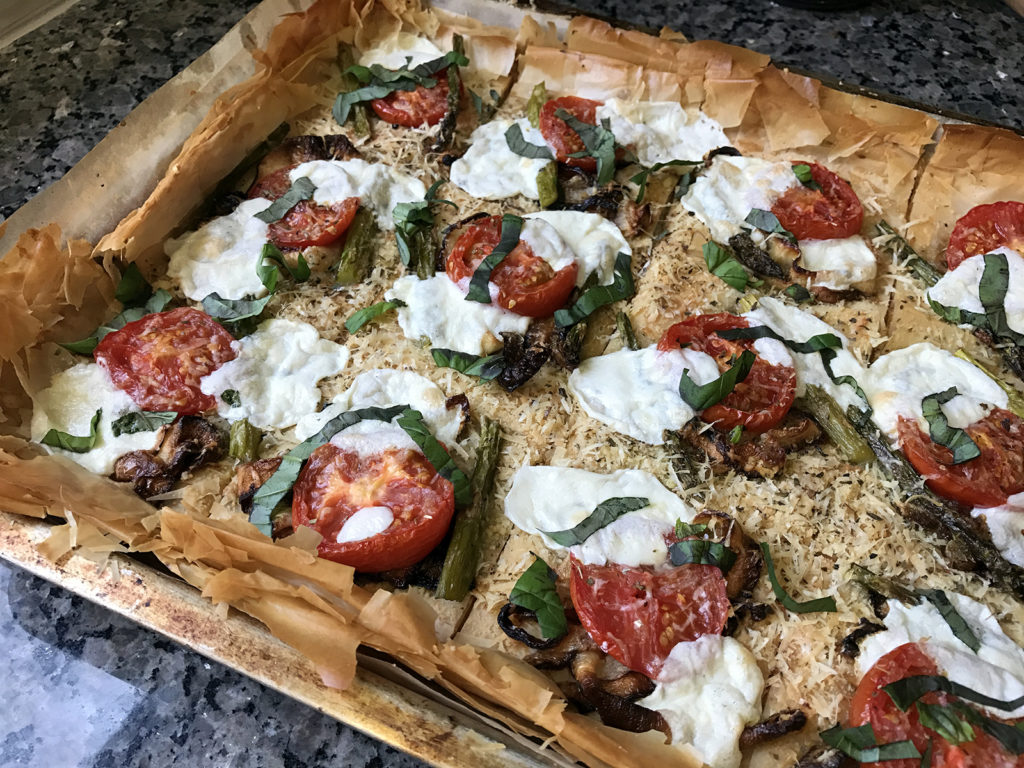
Once you have it all cut, you just add your toppings using the lines that you cut as your guidelines on how to place the toppings. One thing you’ll notice is that you do not add the fresh mozzarella when you first put it in the oven. If you added it when you first put this in the oven, the cheese would just melt to pretty much nothing. Fresh mozzarella only takes a few minutes to melt.
Normal pizzas at home cook at 550ºF for about 8-12 minutes, but as you know by now, this isn’t a traditional pizza. You bake this at a lower temp for a longer time. What you are doing is allowing all of the layers to cook and crisp up evenly versus having a crisp top with a mushy center/bottom.
Five minutes before the pizza is done, you’ll add the fresh mozzarella to it and then pop it back into the oven just to melt up. Keep in mind, I used shredded Parmesan thus the cheese on the top is ‘crisp’. I avoided using all high-fat, soft cheese as the whole goal of this pizza is thin and crispy. If you wanted that cheese pull that only ooey gooey cheese gives you, I would add that about the last 10 minutes of baking.
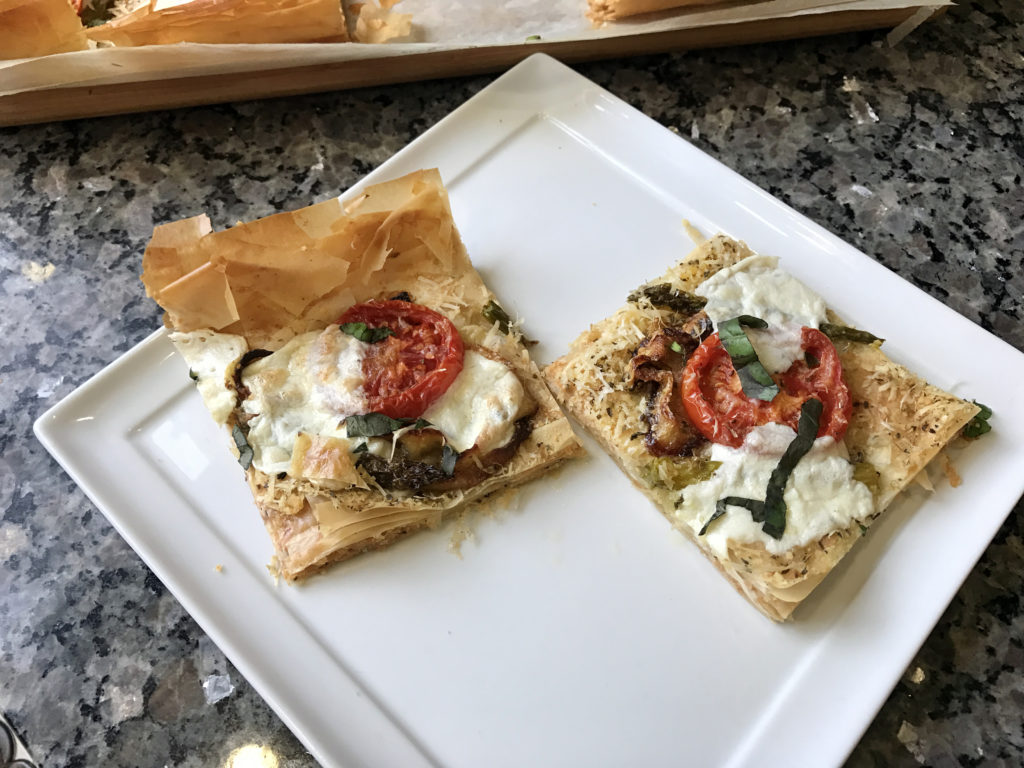
When you first pull this out of the oven, the edges look ‘odd’ as the browned phyllo dough are almost the same color as the browned parchment paper. As soon as you touch it, you’ll be able to distinguish the difference. The phyllo dough edges will be crisp and break off where the parchment won’t.
Let’s be real for a minute. The HARDEST part when making a pizza is letting it cool for a bit before you pick it up and try to inhale it. What happens if you don’t wait? A few things – the cheese runs off the sides, you pretty much burn a hole in the roof of your mouth, or you pull off the toppings in one single bite. Trust me, wait about 5 minutes or so before taking this out of the pan and ‘fine’ cutting it – tracing the pre-cut lines.
When it’s time to serve (and more importantly, eat), get out of my way! This pizza is just stunning to look at; all the variations of colors and texture. When you add in the complexities of flavors – it’s like Pizzageddon!
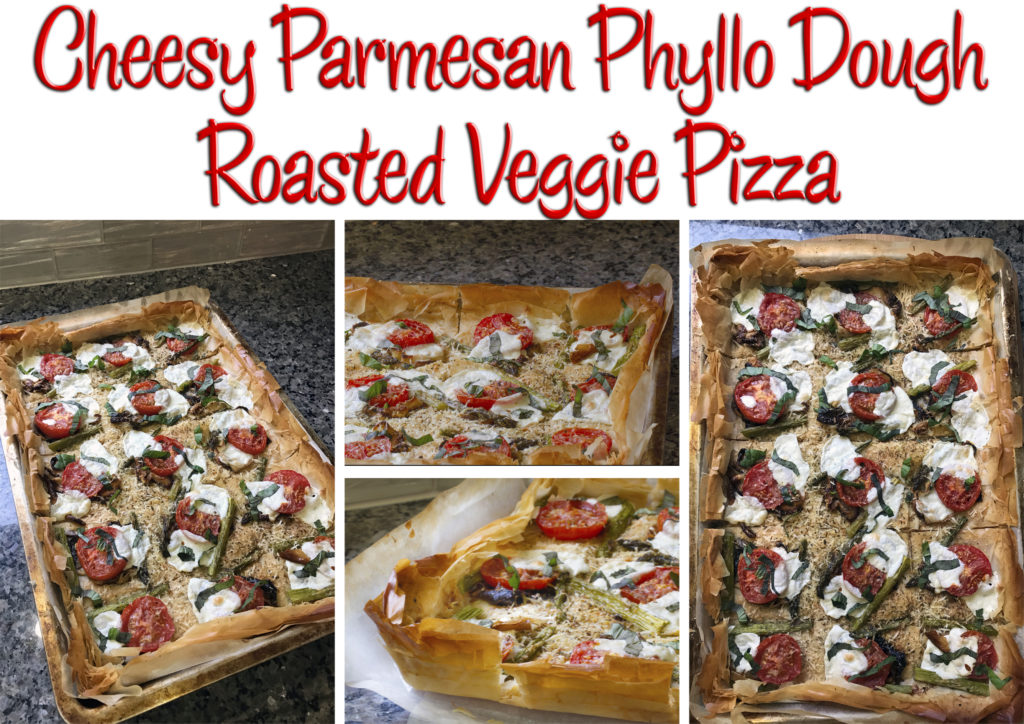
Just like any chef, yes, you need to sample your work…a few times. Full disclosure here – I do not like raw tomatoes at all, but when they are ‘salted’ then roasted on a pizza like this, they transform into something magical! The roasted tomatoes, caramelized roasted onions, those asparagus…irresistable! Because this pizza is made with phyllo dough, it’s so much ‘lighter’ in texture so I didn’t get that guilt-trip when I ate two pieces.
If you prefer a meaty pizza, you can totally top this with cooked bacon, sausage, and chorizo. If you’re a pizza purest, you can keep it just cheese. To amp up your cheese factor, maybe add in a little ricotta too or burrata with sea salt, basil, and pepper! Be careful with loading up the toppings though; remember it’s PAPER THIN dough.
If you want to step up your Friday night pizza game, then you need this pizza in your life. This pizza will definitely be a crowd favorite and one that is requested time and time again!
This phyllo dough pizza is one that can be made for pretty much any occasion – pizza night, game night, showers, poker night with the guys, and every single sporting event on tv.
Ingredients
- 1 roll (20 sheets thawed phyllo dough)
- 1 large Vidalia onion, cut into 1/4” rings
- 5 Campari tomatoes, sliced into 3 rings
- 8 asparagus spears, ends trimmed
- 1/2-3/4 cup good olive oil
- 1 1/2 tsp kosher salt
- 1/2 tsp garlic powder
- 1 1/2 tsp oregano
- 1 cup grated parmesan
- 1 1/2 cups shredded parmesan
- 6 ounces cubed fresh mozzarella (about 30 cubes)
- 6-7 fresh basil leaves, cut into ribbons
- 1/2 tsp fresh black pepper
Instructions
- Preheat oven to 400ºF, rack in the middle. On a large rimmed baking sheet, place the onions and asparagus in a single layer. Drizzle on 2 tablespoons oil, 1 tsp salt, and garlic powder. Using clean hands, gently toss/turn the vegetables to coat all sides and place back in a single layer. Bake for 10 minutes, remove from the oven, turn, and bake for another 10 minutes. Remove from the oven and place on a paper towel lined plate.
- While the veggies are in the oven, take the tomato slices and place them on a paper towel lined plate in a single layer. Sprinkle with the 1/4 tsp salt. Allow to rest for 10 minutes, then flip the tomatoes and add the rest of the salt. This will draw out the liquid.
- Line a 15X10X1” baking pan with parchment paper and lightly mist with oil. Unroll the phyllo dough and place 2 sheets (slightly overlapping) on the pan going up the sides about 1/2” inch. Brush the dough with olive oil and then sprinkle with 1 tablespoon grated parmesan, 2 tablespoons of shredded parmesan, and a pinch of oregano. Repeat until all of the sheets are used.
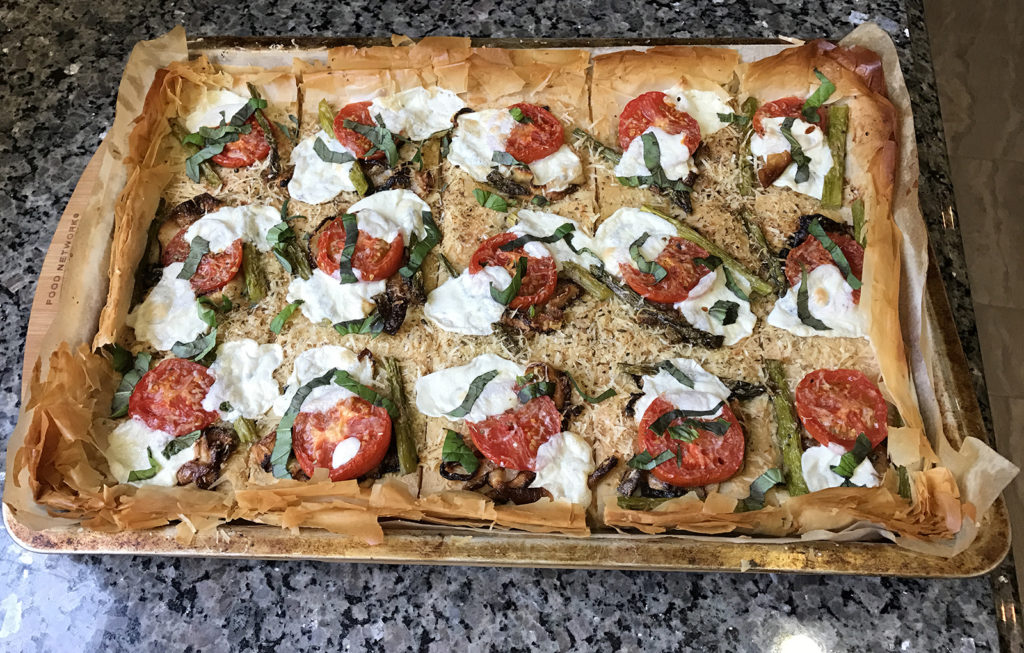
- Take a fork and pierce the layers all the way through every inch. Next take a sharp tipped knife and cut the phyllo dough into 15 even squares (serving sizes). This will make it easier to serve. You should always cut your phyllo dough BEFORE you bake it.
- Evenly divide the onions on each square. Top with a tomato slice. Next cut the asparagus spears into thirds or halves (depending on how big they are) and place 2 pieces on each square. Sprinkle with any remaining oregano and pop into the oven.
- Bake for 20 minutes, remove from the oven and place 2 cubes of fresh mozzarella on each square and pop it back into the oven and bake for another 5-10 minutes or until the edges of the phyllo dough are golden brown and crisp.
- Remove from the oven and allow to cool for 5 minutes in the pan before lifting it out of the pan (using the parchment paper) and placing on a cutting board. Use a sharp tip knife to trace the original cuts.
- Sprinkle with the basil ribbons, fresh black pepper, and a very light mist of olive oil.
Notes
Home Chef Tip: Tomatoes on a pizza are awesome, but they can make a pizza watery. Slice your tomatoes and place them on a paper towel lined plate in a single layer. Sprinkle them with kosher salt and let them rest for 10 minutes, Flip the tomatoes over and sprinkle with a little more salt. The salt will help draw out the moisture and liquid.

We hope you love this Roasted Vegetable Phyllo Dough Pizza recipe from SoFabFood Contributor, The Kitchen Whisperer, as much as we do. If you love this delightful recipe, be sure to check out our other Pizza Recipes to find more like it. For daily recipe inspiration, like us on Facebook and follow us on Pinterest. Enjoy!
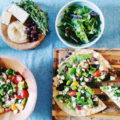
Related posts:
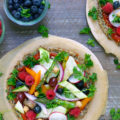
 Spring Vegetable Flatbread with Basil Pesto
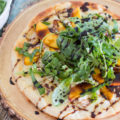
 GF Cauliflower Crust Veggie Fruit Pizza
 GF Balsamic Glazed Grilled Peach Pizza
 Italian Caprese Salad Pizza Recipe
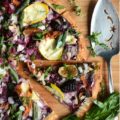 Blackberry Balsamic Pizza with Garden Veggies
 Grilled Peach and Goat Cheese Pizza
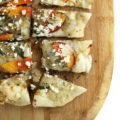
 Grilled Greek Pizza Recipe
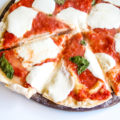 Authentic Italian Margherita Pizza
Leave a Reply