


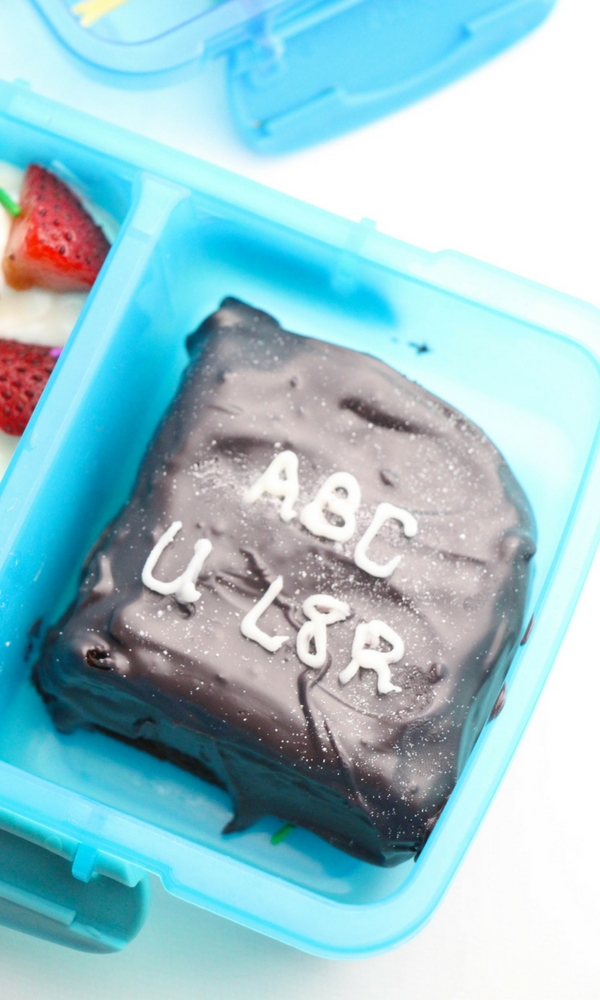
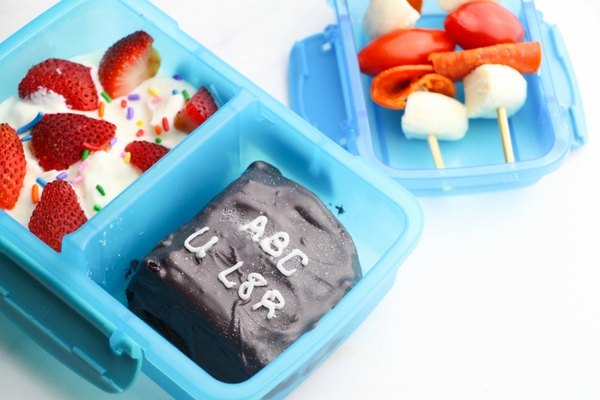
Make lunchtime special for the ones you love when you whip up these simple Chalkboard Brownies for their lunch box. Customize them with personal messages that will put a smile on everyone’s face!
To be honest, I’m kind of dreading the school year. As much as I’m looking forward to the return of routine and uninterrupted work time as a work-at-home mom, I’m that mom who cries every year at drop-off. I love getting to spend time with my girl, so I wanted to make a special first day of school lunch that reminded her that I’m thinking of her – and that the fun doesn’t end just because school is in session!
Personalized Lunchbox Chalkboard Brownies Recipe
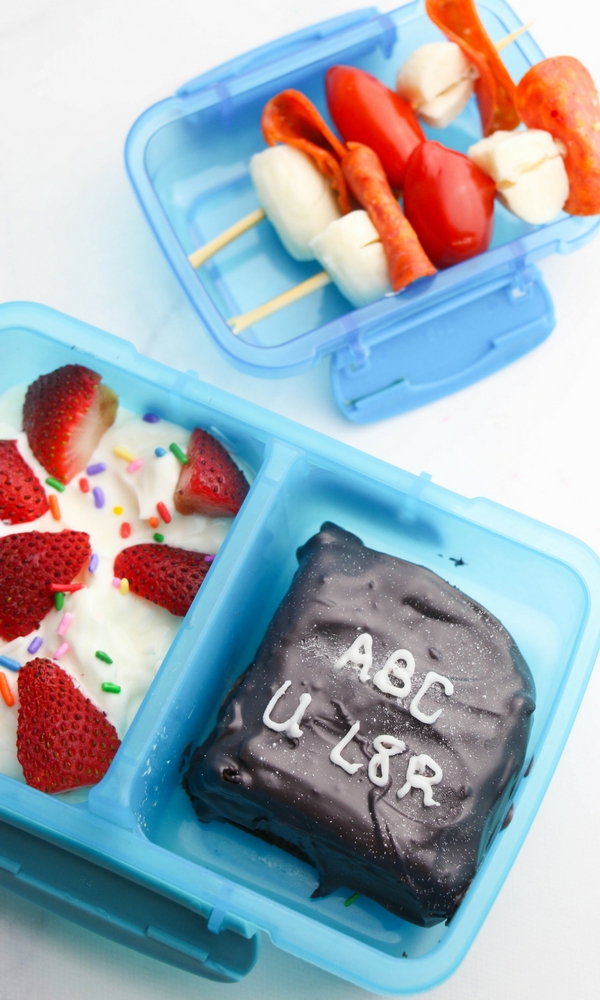
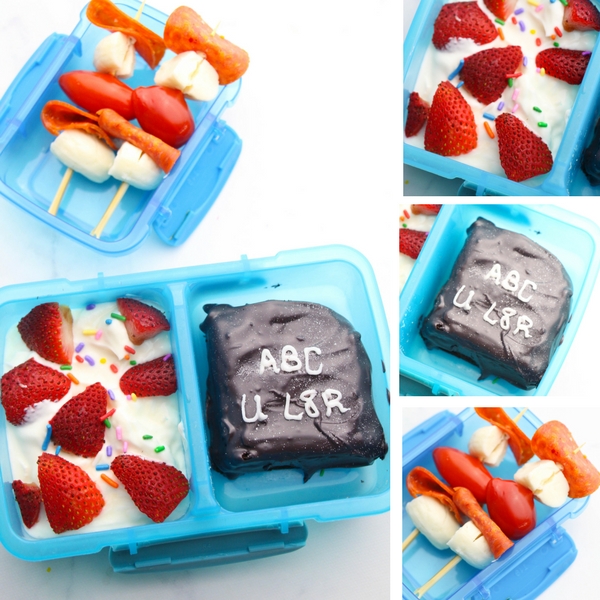
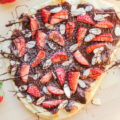
For our easy back-to-school lunch, I made cute mini “pizza kebabs” (we love all things pizza), added strawberries and sprinkles in her coconut yogurt, a homemade “sealed sandwich” (as my daughter likes to call them), and these super cute chalkboard brownies. My goal with packing her lunches is always to pack as much fun, healthy stuff as possible while downplaying (and often skipping) treats – but the first day of school warrants a special lunch snack. Goodness knows, I’m going to need one to get through the day!
Kitchen Tools You May Find Helpful
- Square baking tray
- Medium saucepan
- Microwave-safe bowl
- Whisk or wooden spoon
- Measuring cups and spoons
- Mixing bowl
- Toothpicks
- Spoons
- Cooling rack
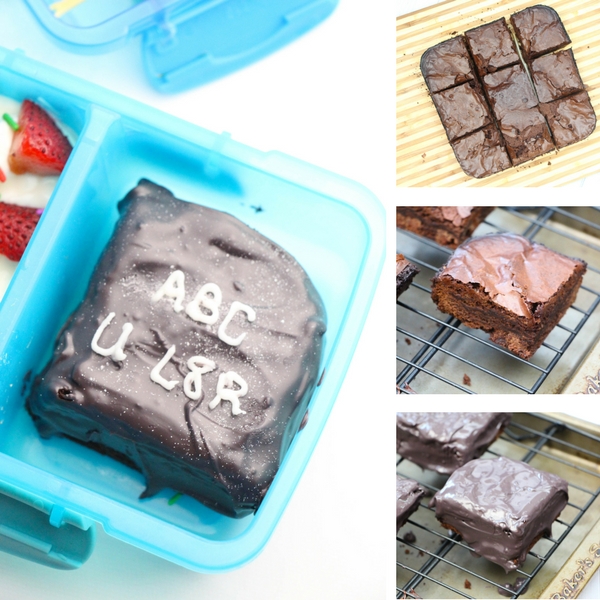
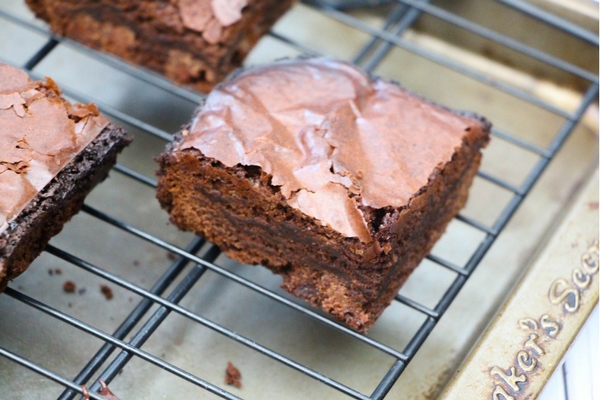
Allow brownies to cool in the pan to avoid breaking, then remove and cut into squares. Place brownies on a cooling rack.
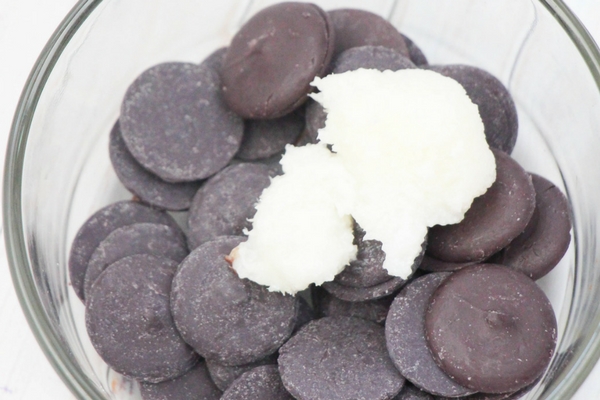
Place the candy melts and shortening in a microwave-safe bowl and heat for 25-30 second increments, stirring well in between each heating. Reheat and stir well until the candy melts are runny and no lumps remain.
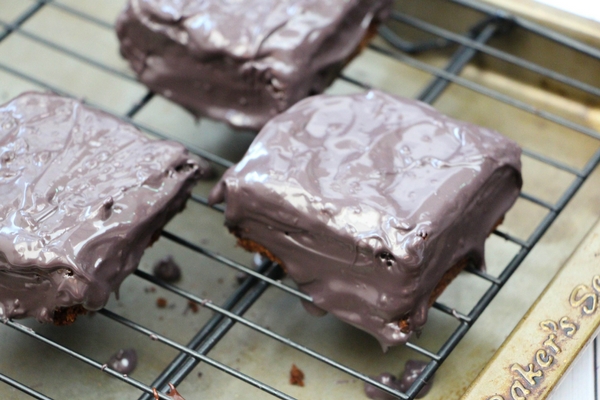
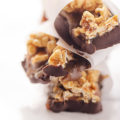
Pour three to four tablespoons of the black candy melt mixture over each brownie, using the back of your spoon to smooth the candy coating to the edges.
Allow to dry completely before using a dry paintbrush or skewer to apply the white glitter or icing pen writing. I prefer to rub glitter all over the whole brownie for a realistic effect before adding the final writing. Store in an air-tight container in the fridge for up to five days. Makes 9-12.
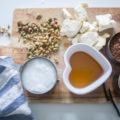
Ingredients
- 1 1/3 cup butter
- 2 1/2 cups white sugar
- 1 1/2 cup cocoa powder
- 1 teaspoon salt
- 1/2 teaspoon baking powder
- 4 large eggs
- 2 teaspoons vanilla extract
- 1 1/3 cup flour
- 1 cup milk chocolate chips
- 1 1/2 cups black candy melts
- 3 Tablespoons shortening or coconut oil
- 1 vial white food glitter
Instructions
- Preheat oven to 325ºF.
- In a small bowl, sift together the cocoa powder, salt, and baking powder. Set aside.
- Place the butter in a small saucepan over medium heat and cook for 8-10 minutes until slightly golden brown. Small pieces of milk fat will turn a chocolate brown and that's okay.
- Remove the pan from the stove and immediately stir in the white sugar with a wooden spoon.
- Add in the cocoa mixture and then allow to cool to room temperature, about 5-8 minutes. Meanwhile, grease a square pan, or for thinner brownies, a large casserole pan - about 9x13". Set aside.
- Add in the eggs one at a time, then the vanilla and flour, beating thoroughly after each addition.
- Beat for 2 minutes before adding in the chocolate chips.
- Pour the brownie batter into the baking tray or baking pan and bake for 22-25 minutes, until an inserted toothpick comes out clean and tops are cracked.
- Allow brownies to cool in the pan to avoid breaking, then remove and cut into squares. Place brownies on a cooling rack.
- Place the candy melts and shortening in a microwave-safe bowl and heat for 25-30 second increments, stirring well in between each heating. Reheat and stir well until the candy melts are runny and no lumps remain.
- Pour 3-4 Tablespoons of the black candy melt mixture over each brownie, using the back of your spoon to smooth the candy coating to the edges.
- Allow to dry completely before using a dry paintbrush or skewer to apply the white glitter writing. (I prefer to rub glitter all over the whole brownie for a realistic effect before adding the final writing.)
- Store in an air-tight container in the fridge for up to 5 days.
Notes
Home Chef Tip: If you can't use black candy melts, try dark-colored chocolate chips or do a "whiteboard brownie" if your child's classroom uses smartboards.

We hope you love this personalized Lunchbox Chalkboard Brownies recipe from SoFabFood Contributor, Jennifer from Sugar, Spice, and Glitter, as much as we do. If you like this recipe, be sure to stop by our Dessert Section for even more like it. Don’t forget to subscribe to our newsletter so that you never miss a single recipe, and be sure to like us on Facebook and follow us on Pinterest for daily recipe inspiration. Enjoy!


Leave a Reply